Easy Colourful Hairband | Free Crochet Pattern

This is an easy, fun & quick crochet hairband to make for beginners in no time. You can easily adjust it by sewing the button on different rows of the longer side of the crochet hairband to make it fit your head perfectly.
This easy crochet headband pattern for beginners is a perfect project to use up your leftover yarns.
This crochet headband design comes in 3 sizes:-
Baby: with head circumference 17"— 18”
Toddler & Child: with head circumference 19”— 21”
Adult: with head circumference
22"- 23”
You can download the printable Ad free pdf pattern for a 30% off using the coupon code “summer”, valid till saturday May, 31, here👇
Yarn
• Alize cotton baby soft
• 50% cotton, 50% acrylic
• Wt. 100g – 3.53Oz
• Length. 270mt - 295yds
Get a variety of gorgeous yarns from LoveCrafts with affordable prices here👇

Hook & other materials used
• 3.5 mm hook, US hook size E/4
• Button
• Scissors
• Yarn needle
• Needle & white thread for sewing the button on the hairband
SIGN UP in my newsletter to be notified whenever new Pattern is released 👇
Gauge
18sts by 9rows = 4” (dc)
Adjust hook size if necessary to obtain gauge
You may like to take a look at this free crochet twisted headband pattern - the Diamond Bobble Twisted Headband here👇

Skill level:
Easy/ Beginner friendly
Finished size/ measurements
Length width
Baby 17” 2”
Toddler & 20” 2”
Child
Adult 22” 2”
Abbreviations
• Ch: Chain
• Sc: Single crochet
• Dc: Double crochet
• St: Stitch
• Sp: Space
• Sk: Skip
• Rep.: Repeat
• RS: Right side
• WS: Wrong side
• Yo: Yarn over

Special stitch
• Dc2tog: yo, insert hook through the st, yo, pull through the st, you'll have 3 loops on hook, yo, pull through first 2 loops on hook, yo, insert hook into the next st, yo, pull through the st, you'll have 4 loops on hook, yo, pull through first 2 loops on hook, so you'll have 3 loops on hook, yo, pull through all 3 loops on hook.


Here's a video tutorial on how to crochet dc2tog (I.e make a decrease)👇
Note
• The beginning ch3 is considered as dc.
• The pattern is worked in baby size, and the other sizes will be written in the following order ( toddler & child, adult)
Note: the size for the toddler & child are the same.
• The White color which is the Main color is indicated as MC, whereas the Contrasting color as CC.
INSTRUCTIONS
Ch 41 ( 47, 61)
Row1(RS): with MC, insert hook in the 4th ch from hook & make dc, & dc all across. (Total 39, 45, 59). Turn.
Row2(WS): with CC, ch3, dc in next st,*ch2, sk st, dc in next st,* rep. From *to* 17 ( 20, 27) times, dc in last st. Turn.
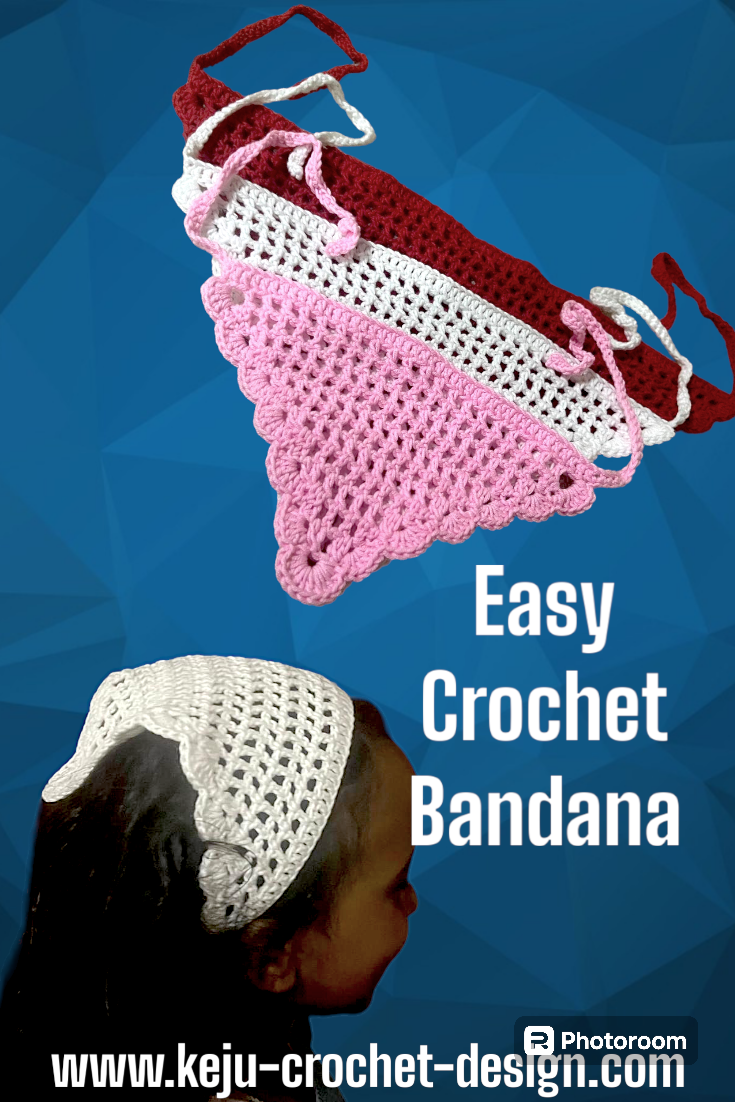
You may like to take a look at this lovely Easy Crochet Bandana Pattern free here 👇
Row3: with CC, ch3, dc in next st, *ch2, sk 2chs of previous row, dc in next st* rep. From *to* 17 (20, 27) times, dc in last st. Turn.
Row4-5: rep. Row 3.
Row6: with MC, ch3, dc in next st, *dc in next ch2 sp, dc in next st,* rep. From *to* all across till last st, dc in last st. (Total 39, 45, 59).
Here we finish the band!!!
Fasten off and weave in ends.
Now start working across the side edge with the MC. These steps are similar for all sizes.
One side edge of the hairband ( the longer side)
While RS facing, attach yarn on the first dc side row & start working:-
Row1: 2dc in each dc side row all across (Total 12dc )
Row2: ch3, dc2tog, dc in next 7sts, dc2tog. (Total 10sts)
Row3: ch3, dc2tog, dc in next 5sts, dc2tog. (Total 8sts). Turn.
Row4: ch3, dc2tog, dc in next 3sts, dc2tog. (Total 6sts). Turn.
Row5: ch3, dc2tog, dc in next st, dc2tog. (Total 4sts). Turn.
Row6: ch3, dc in next 3sts. (Total 4sts). Turn.
Row7-12: rep. Row 6.
Row13: ch5, dc in the last st. ( To create a hole for the button). Turn.
Row14: ch1, 4sc within the ring. (Total 4sc). Turn.
Row15: ch1, sc in next 4sts. (Total 4sc).

Here we finish working the longer side edge!!
Fasten off & weave in ends.
The other side edge of the hairband ( the shorter side)
While RS facing, attach yarn on the first dc side row & start working:-
Row1- 6: rep. Row1 - Row6 of the opposite side.
Row7: rep. Row6 of the opposite side
Row8-10: rep. Row13- Row15 of the opposite side
Here we finish working the shorter side edge!!!!
Fasten off & weave in ends.
Finishing
While RS is facing, sew the button using a needle and white thread on the 6th row of the longer side.
Note: you can adjust the simple crochet headband pattern to fit your head by sewing the button on the 7th or 8th or any row of the longer side of the hairband to make it fit your head perfectly.
DONE!!
Hope you like it & would love to see your work. If you want to share it with me just tag me on Instagram.
You may like to take a look at this interesting Ebook by @nickishomemadecrafts, the ….
💥Crochet Color Changes Made Easy Ebook💥
If you like to make patterns with 2 or more different colours, or find difficulty in changing colours. Then, this Ebook will be perfect for you!!!!!
SO let’s see what this Ebook include:-
👉Everything a beginner to advanced crocheter can learn about how to change colours in crochet.
👉9 Color Changing Techniques
👉30 patterns
👉40 extra pixel graphs
👉58 video Tutorials
👉209 page Ebook pdf even has a clickable table of content & video links!!!!


So dear crocheters,
Feel free to share & sell items you make from my patterns, but please don’t forget to mention your source. Please don’t copy, sell &/or post this pattern & claim it as your own.
If you have any question about this pattern, feel free to contact me via email: [email protected]. I’ll be happy to help.
You can find me in these social medias👇
Facebook👇
https://www.facebook.com/kejudesign
Pinterest👇
https://www.pinterest.com/kejudesign
Instagram👇
https://www.instgram.com/keju_crochet_design
Youtube👇
https://youtube.com/channel/UC0mYYtW8V1N8xzDRZAhGklQ
*This post contains affiliate link at NO cost to you.
HAPPY CROCHETING!!
SIGN UP in my newsletter to be notified whenever new Pattern is released 👇
