Valentine Waffle Headband | Free Crochet Headband Pattern
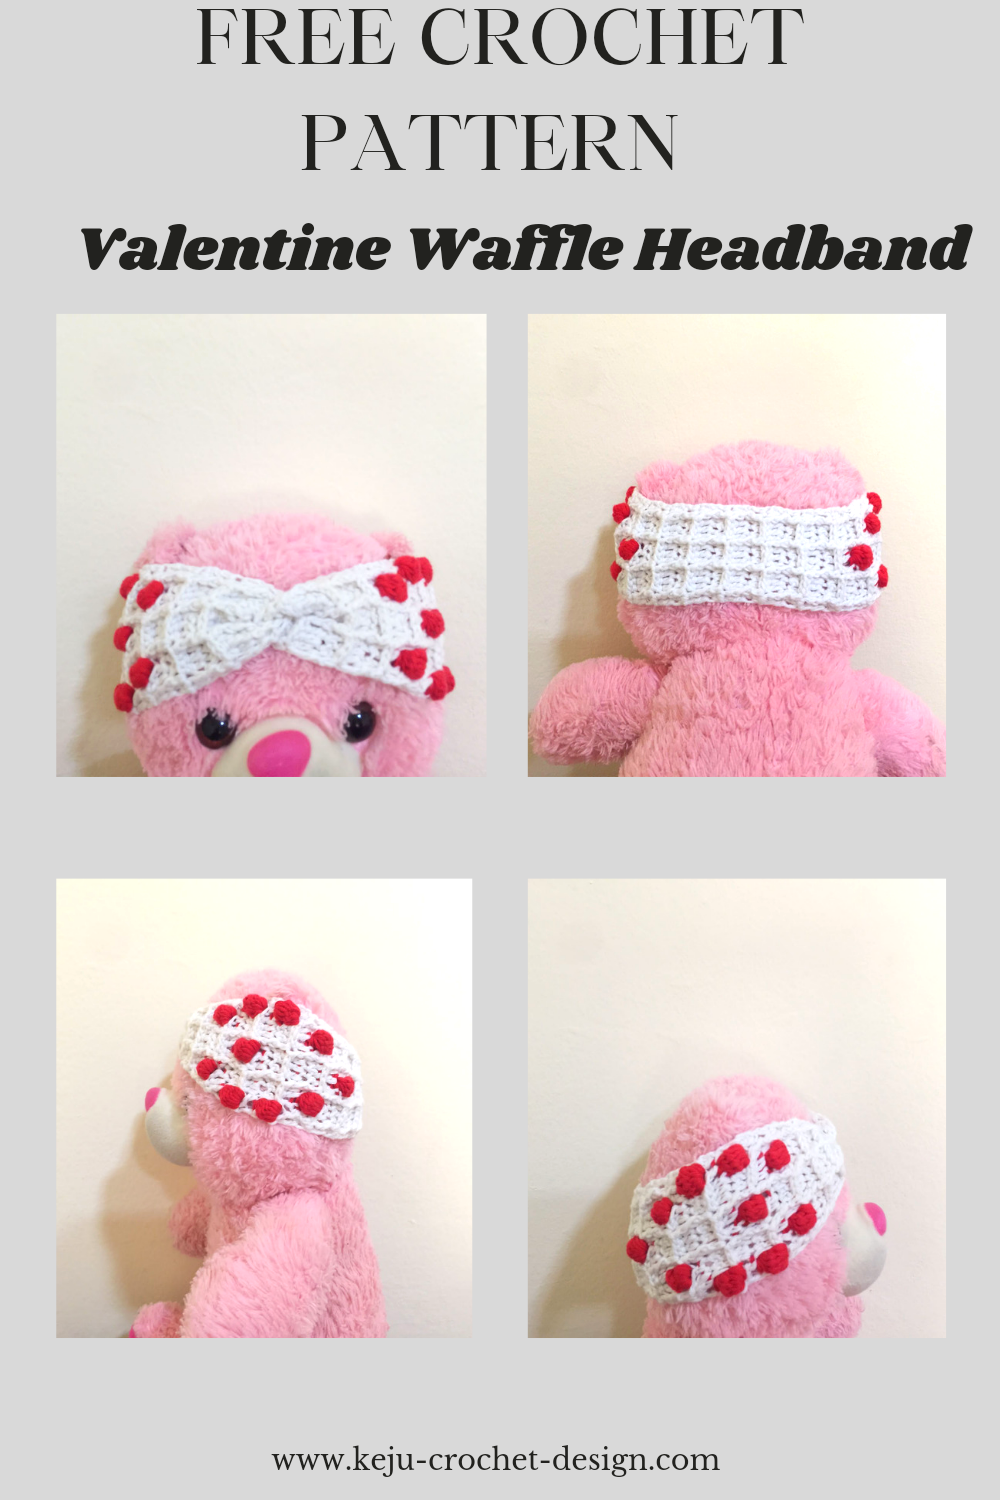
This Valentine Waffle headband is a twisted crochet headband, which is a simple and quick project to make. The techniques used are :- waffle stitch and bobble stitch. This crochet valentine headband is worked in rows and then both ends are joined together in a twisted way, which makes it trendy.
You can purchase the printable pdf pattern here 👇
The pattern comes in 7sizes:-
Age group Head circumference
0-3months 13.5”-16"
3-6months 16.5”-17”
6-12months 17.5”-18"
Toddler 18”-19"
Child 20”-21"
Adult 22”-23"
I will be working this headband in baby size (0-3months). The other sizes will be written inside a bracket.
This pattern is adjustable. You can easily adjust it by working more or less waffle stitch that is between both bobble stitches that are at both ends of the band.
As indicated by the arrows in the picture below. The area (or the length of the waffle stitch) between the two arrows is where we increase or decrease to make a smaller or bigger headband.
Therefor, this waffle stitch headband is worked exactly the same for all sizes, the only difference is on the size of the waffle stitch worked between the bobble stitches that is at both ends of the band.

Materials used in this pattern:
Yarn
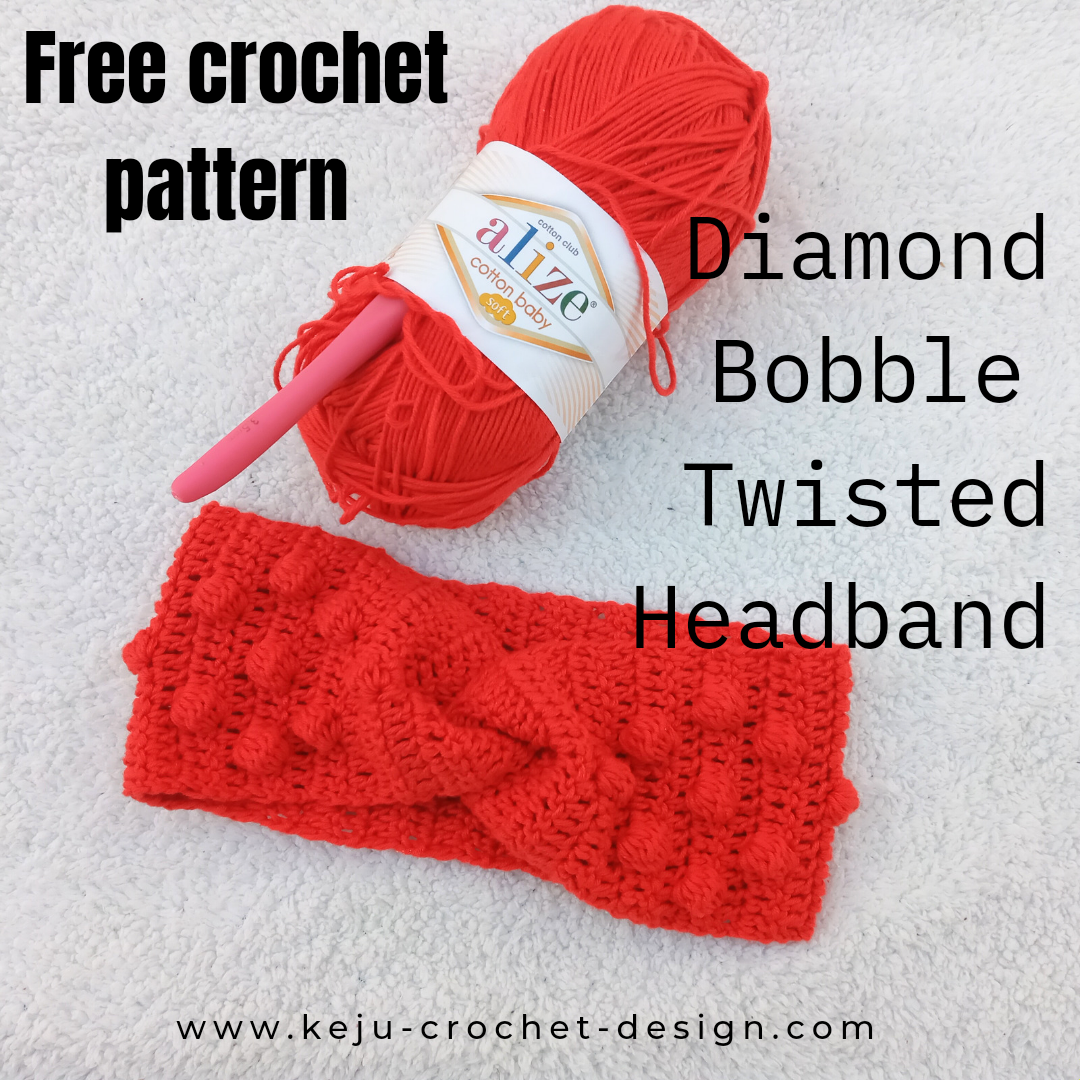
• Alize cotton baby soft (white colour for waffle stitch & red colour for bobble stitch)
• 50%cotton, 50%acrylic
• Wt. 100g – 3.53OZ
• Length: 270mt - 295yds
You can find variety of gorgeous yarns from Lovecrafts with affordable prices here 👇
Hook and other materials used
• 4.5mm hook size, US hook size: 7
• Scissors
• Yarn needle
You can purchase hook here 👇
Skill level: Intermediate
Size/Finished measurements
Length Width
0-3months 15” 3”
3-6months 15.5” 3”
6-9months 16” 3”
9-12months 17” 3”
Toddler 19.5” 3”
Child 20” 3”
Adult 21” 3”
Gauge
18sts by 9rows = 4” (dc)
Adjust hook size if necessary to obtain gauge.

Abbreviations
• Ch: Chain
• St: Stitch
• Dc: Double crochet
• Fpdc: Front post double crochet
• Rep.: Repeat
• Yo: Yarn over
• RS: Right Side
• WS: Wrong Side
Special stitch
Bobble Stitch: * yo, insert hook into st & pull up a loop, yo & pull through 2 loops on hook.* rep. from *to* 6 times. So you'll have 8 loops on hook. Yo & pull through all 8 loops on hook. So you’ll have 1 loop on hook, then yo & pull through 1 loop in order to fasten the bobble stitch.
Here's a video tutorial on how to crochet a bobble stitch 👇
Here's a video tutorial on how to crochet a waffle stitch 👇
Note
• The beginning ch 1 is not considered as st.
• Bobble stitch is worked in the WS.
• The pattern is worked in rows to create a long rectangular band. Then the ends of the band are seamed together in a specific way to form a twist.
• The pattern comes in 7sizes.
• The pattern is worked in a baby size I.e. (0-3 months) and the other sizes will be written in lside a bracket in the following order: ( 3-6, 6-9, 9-12, Toddler, Child, Adult).
• The main colour is WHITE for making the waffle st and the colour RED is for making the bobble st.
• From Row 1 till Row 15 the instructions are the same for all the sizes.
Here's the….
💥Crochet Waffle Stitch Made Easy Ebook 💥

This Ebook includes:-
◇ 3 ways to crochet the waffle stitch
◇ 12 Elegant patterns
◇ 6 Videos Tutorials
◇ Bonus Modules & extra bonus printables ( WIP progress sheets & Laundry Tags sheets)
This Ebook is a 33 pages pdf, that has clickable table of content & video links.
Isn't this interesting????
Ebook Link
https://kejudesign--nickishomemadecrafts.thrivecart.com/crochet-waffle-stitch-made-easy/
You may like to take a look at this crochet waffle stitch scarf - the Valentine Waffle Scarf Pattern 👇

INSTRUCTIONS
Ch17
Row1: In WHITE, insert hook into the 4th ch from hook, & make dc all across. (Total 15 dc). Ch1. Turn.
Row2 (RS): In WHITE make, dc in the 1st st, fpdc around the next dc of the previous row, *dc in the next 3sts, fpdc around the next dc of the previous row,* rep. from *to* till the last st, dc in the last st. Ch1. Turn.
Row3 (WS): In WHITE, dc in the 1st st, dc in the next st, *fpdc around the next 3dc of the previous row, dc in the next st,* rep. from *to* till the last st, dc in the last st. Ch1. Turn.
Row4 - Row6: rep. Row 2 & 3 respectively.
Row7: In WHITE, dc in the 1st st, dc in the next st, fpdc around the next dc of the previous row, change to RED make, bobble st in the next st, change to WHITE make, fpdc around the next dc of the previous row, dc in the next st, fpdc around the next 3dc of the previous row, dc in the next st, fpdc around the next dc of the previous row, change to RED make, bobble st in the next st, change to WHITE make, fpdc around the next dc of the previous row, dc in the last 2sts. Ch1. Turn.
Row8: rep. Row2.
Row9: In WHITE make, dc in the 1st st, change to RED make, bobble st in the next st, change to WHITE make, fpdc around the next 3dc of the previous row, dc in the next st, fpdc around the next dc of the previous row, change to RED make, bobble st in the next st, change to WHITE make, fpdc around the next dc of the previous row, dc in the next st, fpdc around the next 3dc of the previous row, change to RED make, bobble st in the next st, change to WHITE make, dc in the last st. Ch1. Turn.
Row10: In WHITE make, dc in the 1st st, dc in the next 4sts, fpdc around the next dc of the previous row, dc in the next 3sts, fpdc around the next dc of the previous row, dc in the last 5sts. Ch1. Turn.

Row11: In WHITE make, dc in the 1st st, change to RED make, bobble st in the next st, change to WHITE make, *fpdc around the next 3dc of the previous row, dc in the next st,*rep. from *to* 1more time, fpdc around the next 3dc of the previous row, change to RED make, bobble st in the next st, change to WHITE make, dc in the last st. Ch1. Turn.
Row12: rep. Row10
Row13: In WHITE make, dc in the 1st st, dc in the next st, fpdc around the next dc of the previous row, change to RED make, bobble st in the next st, change to WHITE make, fpdc around the next dc of the previous row, dc in the next st, fpdc around the next 3dc of the previous row, dc in the next st, fpdc around the next dc of the previous row, change to RED make, bobble st in the next st, change to WHITE make, fpdc around the next dc of the previous row, dc in the last 2st. Ch1. Turn.
Row14: rep. Row2
Row15: In WHITE make, dc in the 1st st, dc in the next st, fpdc around the next 3dc of the previous row, dc in the next st, fpdc around the next dc of the previous row, change to RED make, bobble st in the next st, change to WHITE make, fpdc around the next dc of the previous row, dc in the next st, fpdc around the next 3dc of the previous row, dc in the last 2sts. Ch1. Turn.
You can purchase the printable pdf pattern here 👇
Row16- 24 ( 26, 28, 30, 36, 38, 42): rep. Row 2 & 3 respectively.

Row25 ( 27, 29, 31, 37, 39, 43): rep. Row15
Row26 ( 28, 30, 32, 38, 40, 44): rep. Row2
Row27 ( 29, 31, 33, 39, 41, 45): rep. Row13
Row28 ( 30, 32, 34, 40, 42, 46): rep. Row2
Row29 ( 31, 33, 35, 41, 43, 47): rep. Row11
Row30 ( 32, 34, 36, 42, 44, 48): rep. Row10
Row31 ( 33, 35, 37, 43, 45, 49): rep. Row9
Row32 ( 34, 36, 38, 44, 46, 50): rep. Row10
Row33 ( 35, 37, 39, 45, 47, 51): rep. Row7
Row34-39 ( 36-41, 38-43, 40-45, 46-51, 48-53, 52-57): rep. Row 2 & 3 respectively.
Here we finish our waffle stitch headband!!

Seaming
Fasten off & leave along tail for seaming both ends of the headband to form the twist. As shown on the pictures above.
While RS facing, seam both ends of the band using a yarn needle.
Finally, flip the headband.


DONE!!
Hope you like it and would love to see your work. If you want to share with me just tag me on Instagram.
You may like to take a look at this free crochet twisted headband pattern - the Diamond Bobble Twisted Headband 👇
So dear crocheters,
Feel free to share & sell items you make from my patterns, but please don’t forget to mention your source. Please don’t copy, sell &/or post this pattern & claim it as your own.
If you have any question about this pattern, feel free to contact me via email: [email protected]. I’ll be happy to help.
You can find me in these social medias👇
Facebook👇
https://www.facebook.com/kejudesign
Pinterest👇
https://www.pinterest.com/kejudesign
Instagram👇
https://www.instgram.com/keju_crochet_design
Youtube👇
https://youtube.com/channel/UC0mYYtW8V1N8xzDRZAhGklQ
*This post contains affiliate link at NO cost to you.
HAPPY CROCHETING!!